

Before(Left) After (Right) In the before picture it has more light in the


For this assignment we were given 20 minutes to have a small photo shoot and we had come up with the setup ourself. For this image I was holding a ultimate frisbee disc. For this image I made a setup to where the light was laying down and was pointed at me from the ground. In this photo I like how it is bright on the disc to where you can read what it says and you are able to see the little ridges and scrapes on the front. The edit that I used for this picture really improves the detail. For example around the neck area it was very dark when I first turned it to black and white. After the edits it made the neck area lighter but it still has the darkness to make it show.
For this assignment we were asked to take a colse up picture of our eye and change it to a color of our liking. in order to complete this assignment we had to create a new layer with mask layer. Next we used the cirle tool to select the iris. I then selected a brush then painted inside the circle. After doing that I put on a effect in order to get the relection from th original picture above the painted layer.
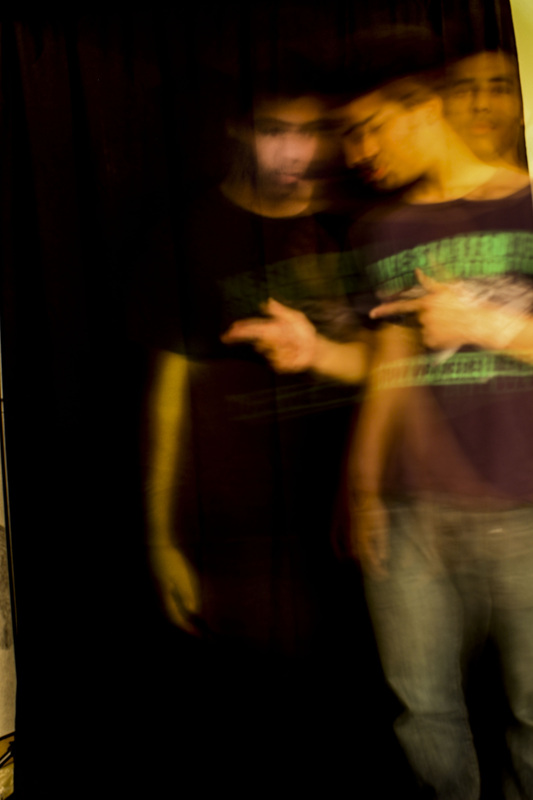
For this assignment we were asked to take a photo were multiple versions of us appear in one photo. In order to complete this assignment we had to figure out a few settings for the camera. The two settings that we needed to change was the shutter speed and the aperture settings. The shutter speed controls the length of the shutter and if it is slow then it also to the person to do a number of poses. When changing the aperture setting the lower the number means that more light will be taken in during the shot, the higher number means there will be lest light drawn in. After chossing the wanted picture I placed in photoshop to make a few color edits. In order to bring out detail I darkened the background and made my self more of a yellow color to bring out detail and to show the three poses.
For this assignement we ahd to make light blur art.In one photo I used the settings 10 se. shutter speed and f/7,1 for the aperture. For this photo edits I increased the exposure to darken the lack so the background is unseen. I Also changed a few color settings to make the colors more intense and some colors even changed slightly. For the symmetrical photos we chose a photo then made a copy, chaged the postion then use a blending option called overlay this combines the two making it look like one after that is complete I reapeated the steps until I found what I like.


|
For this assignment we were asked to create a HDR photo. HDR stand for High Dynamic-Range Imaging. When creating a HDR photo there must be three of the same photos using different exposures usually from a low exposure to a high exposure. During this project I learned how to use the HDR settings in Adobe's Photoshop and how to make the setting where there not to harsh edits and or not enough edits. In my work I want people to know that after making edits to my photos The detail is still there and it is clear to see.
|
|
|
For this assignment we were asked to take a photo of a small object, of this I took a picture of a flower. After moving this image in Adobe's Photoshop, we used a filter called Lighting effect. When I used the lighting effect I changed the color temperature to cool which is a light blue. I added edits to two photos while one was the original. I would like people to notice that the two edits look a lot better than the original with the edits applied.
|

For this assignment we were asked to create a flyer that promotes the Sac New Tech Ar/ Design Exhibition. Before creating this flyer we had to choose a piece of artwork that was created by one of our peers. After I chose this picture I went into Adobe's Photoshop and started adding text to the picture. When I added the text to this artwork I arched the top text to make it flow with the art piece. Also When I added the text in the middle of the art artpiece I directed the text to go along with the diamond in the center of the art piece. I would like people that view my work notice that I use the art work I used major lines as a template for text.

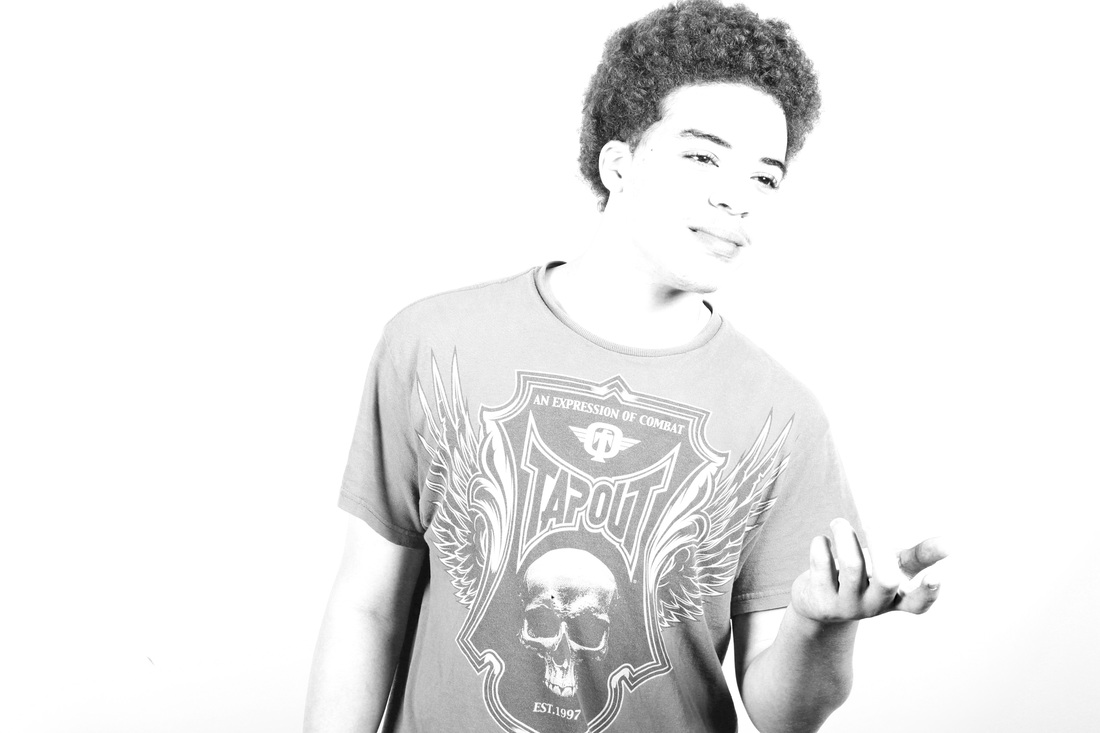
For this assignment we were asked to take a photo where we were overexposed to try to match the background color. When first starting this assignment we had to find the correct settings on the lights and the also on the camera. For this edit we were asked to use a tool called dodge and burn in the program Photoshop. As you can see there are more dark spots in the photo, this is a result in using the burn tool. On the face area I used the dodge tool , this makes some areas lighter than other for example around the the check and also the lightened up the hairline area to make it perfect.
|
|
For this assignment we were asked to create a cut-up portrait. I photographed two different people who posed in different ways. When I was photographing the two "models" I asked them to face away from the camera and also to show no emotion. After successfully taking the photos I moved them into Photoshop I took slivers of each photo and put them together. I would like viewers to notice that in my work the photo maintains most of the normal shape through out the photo.
|
|
|
For this assignment we were asked to create a double exposure photo. In order to create this image we were asked to take a photo of our self then find a image on the internet that we would like to use. for the secondary photo I used a black and white photo of the Sacramento bridge. While creating this image we had to do a number steps which were erasing unwanted areas and also using the dodge ad burn tool to make some areas darker and others lighter. I also created another version but with my friend. On the second image instead of using the bridge I used a black and white version of the AT&T field. One thing I want people to notice in my work is that both images are shown clearly and they don't throw each other off.
|
|
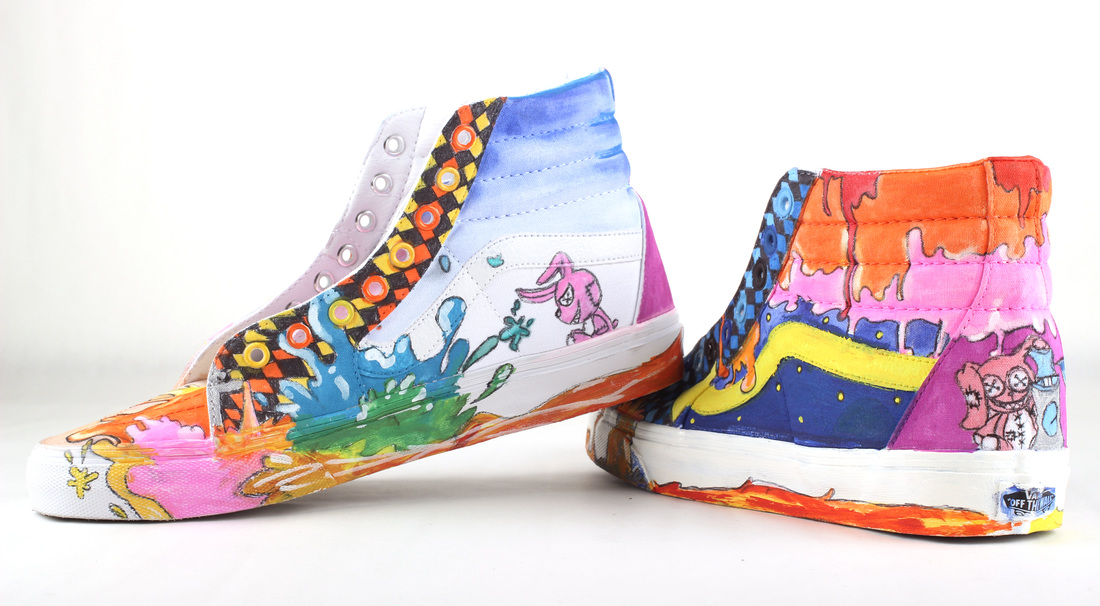
For this assignment we were asked to take a photo of a pair of vans that a student has designed. When we were given this assignment we were asked to choose a pair of shoes that was appealing to the eye and so I chose this pair. After choosing the pair of shoes we had to take a series of photos of the shoes. After taking photos we had to choose a picture that we liked and I chose this image. After image was chosen we we made edits to the photos that made the shoes stand out more. One thing I would like viewers to notice in my work is that after making the edits the image stands out more than the original photo.
For this assignment we were asked to create a digital collage using a folder of digital pictures that were scanned from various magazines. For this image I used a total of 10 images. As you can see I duplicated a few images which were the hats, bears, and the masks of the animals on the bears. In this image I used a few blending options for the egg, triangle, hats, and the face in the top right corner. When creating this image I had to figure out whether to take up all the space on the paper or leave some negative space in order to make the collage less compacted. For the image with the dinosaur and the pig that was created by hand. I For this version it was very similar to the digital version, but for this we had to cut out images our self. When creating this piece I found a cool looking dinosaur to use. after finding that I found a background that made the dinosaur look like it was walking forward, after using two images I added a moon and a pic to try and fill in some empty spaces.
|
|
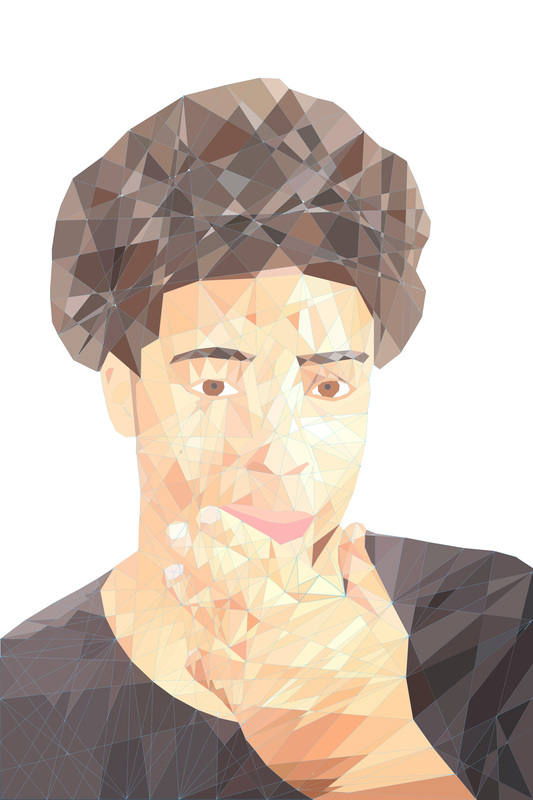
For this assignment we were asked to create a altered portrait of ourselves. Before creating this portrait we had to come up with different idea that we can use to create this portrait. For my portrait I used a low poly technique that contains a picture that is divided up by a whole bunch small polygons. My first step for this assignment I had to find the image I wanted to use and place it in a 12x18 document. After that was complete, I had to use the line and brush tool to setup points on the picture where the lines will start and end. One difficult process during this assignment was color the small polygons. When I was completing that process I had to select area inside that polygon and then use the paint bucket tool to color the shapes. I would like the audience to notice in work that it is very clear to notice that I am the subject in the picture.
|
